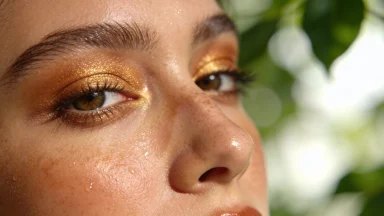
Anúncios
blurred skin makeup tutorial for soft-focus complexion teaches how to create a camera-ready, natural-looking blur using lightweight primer and foundation, gentle patting with a damp sponge, soft cream or liquid color, and minimal powder plus a light setting spray for lasting, photo-friendly skin.
blurred skin makeup tutorial for soft-focus complexion shows simple ways to soften pores and reflections so skin looks dreamy on camera. Curious which products and motions make the biggest difference? I’ll walk you through quick, practical steps to try tonight.
Anúncios
Choosing primers and foundations for a blurred base
blurred skin makeup tutorial for soft-focus complexion starts with the right primer and foundation. These two picks set the stage for a soft, even base that looks good in photos.
Anúncios
Choose lightweight products that blur texture without feeling heavy on the skin.
Primer types and how to choose
Silicone primers create a silky layer that fills fine lines and blurs pores. Gel or water-based primers hydrate and sit lighter on dry skin. Pick a primer that matches your skin needs, not just the label.
Foundation options for a soft-focus finish
Look for foundations described as buildable or soft-focus. Tinted moisturizers and serum foundations give a natural blur, while demi-matte formulas control shine without flattening the skin.
- For oily skin: silicone primer + oil-control, medium coverage foundation.
- For dry skin: hydrating primer + luminous, lightweight foundation.
- For combination skin: spot-treat with a mattifying primer and use a dewy foundation elsewhere.
- For camera use: test products in daylight and on camera to ensure a true blur effect.
Application matters as much as product. Apply a pea-size amount of primer and press it into the skin with fingertips. Work in thin layers of foundation, using a damp sponge to pat and blend for an airbrushed look.
Mixing a tiny drop of primer into foundation can increase slip and create a more unified blurred finish. Avoid heavy powdering; instead, use a fine, translucent powder only where needed.
Finish with a light mist of setting spray to melt products together and enhance the soft-focus effect. Small adjustments—less product, gentle patting, and targeted setting—keep the skin looking natural rather than cakey.
Use these product choices and simple techniques to build a reliable, blurred base that supports the rest of your makeup and helps achieve the soft-focus complexion you want.
Tools and motions: sponges, brushes and gentle patting
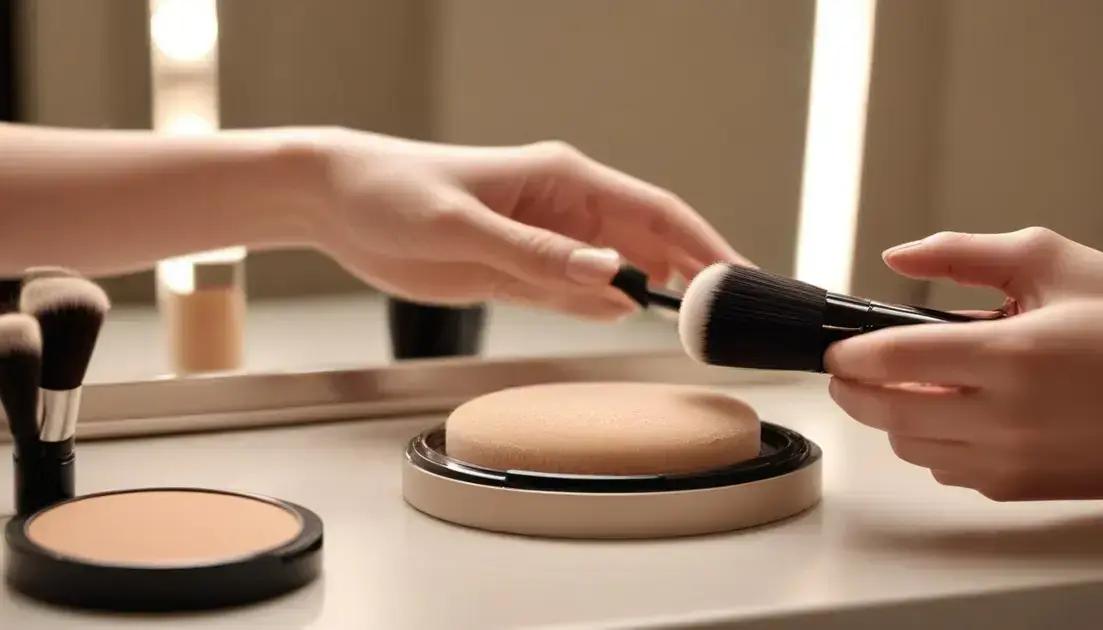
blurred skin makeup tutorial for soft-focus complexion benefits hugely from the right tools and gentle motions. Small changes in pressure and tool choice change the finish.
Use tools that move product without rubbing away coverage. Pat, press, and layer lightly for a soft, photo-ready skin texture.
sponges vs brushes: when to use each
A damp sponge gives a seamless, skin-like finish. It presses product into the skin and reduces streaks. Brushes are great for light-to-medium coverage and controlled blending.
- Damp sponge: best for sheer, blurred coverage and natural finish.
- Dense buffing brush: works for buildable coverage without patchiness.
- Fluffy brush: perfect for diffusing edges and powdering lightly.
- Silicone tools: avoid excess absorption, useful for thin formulas.
Patting motions trap product against the skin instead of shearing it off. Work in small zones and keep strokes short. This preserves the blur and prevents cakey buildup.
key motions and step-by-step tips
Start with a pea-size amount of foundation and dot it across the face. Use a damp sponge to press and bounce the product outward from the center. Less is more; build coverage slowly.
- Press and bounce: use a damp sponge to meld product into pores and fine lines.
- Buff lightly: use circular, soft motions with a dense brush where extra blending is needed.
- Feather edges: finish with a fluffy brush to soften borders and avoid hard lines.
For targeted smoothing, add a tiny bit of primer to the foundation on the back of your hand and mix. This increases slip and helps the tool glide. Keep motions gentle and repeat the patting action for an airbrushed effect.
Use setting spray to settle layers and enhance the soft-focus look. A few light mists unify texture and reduce powdery finish while keeping the blur intact.
Color and finish: soft-focus blush, bronzer and setting
blurred skin makeup tutorial for soft-focus complexion works best when color and finish are soft and natural. The right blush, bronzer, and setting choices help blur texture while adding healthy warmth.
Choose shades close to your natural flush and blend outward for a gentle, camera-friendly glow.
choosing textures: cream, liquid or powder
Creams and liquids sit close to the skin and create a seamless, blurred look. Powders can be soft-focus when finely milled. Match texture to your skin type and the finish you want.
- Cream/lotion: ideal for dewy, skin-like blur on dry to normal skin.
- Liquid tint: blends into pores and gives an airbrushed effect.
- Finely milled powder: use sparingly to diffuse shine without flattening.
- Mixing textures: layer a tiny cream base with a light dusting of fine powder to set selectively.
For shade choice, pick muted tones that mimic the skin’s natural warmth. Peach and soft rose work for most complexions, while warm taupe bronzers add subtle depth. Avoid very cool or overly dark shades that create contrast rather than blur.
Apply color with light pressure. Tap or stipple instead of sweeping to keep edges soft. Use fingers for creams when you want the product to melt into the skin, or a dense sponge to press liquids in for a pore-blurring finish.
setting and finishing for a soft-focus effect
Setting choices determine how the color and blur hold up. Use minimal powdering and finish with a mist to unify layers and reduce a powdery look.
- Micro-setting powder: apply only where needed to control shine, using a small brush.
- Light setting spray: a few mists will meld products and enhance the soft-focus glow.
- Sheer luminizer: add a touch to high points for a blurred highlight, not sparkle.
- Touch-up tips: blot excess shine with blotting paper instead of heavy powder to keep the blur.
Small, precise choices—soft textures, close-to-skin shades, gentle application, and selective setting—create a natural, soft-focus finish that flatters both live and photographed skin. Keep adjustments minimal and you’ll preserve the blurred effect while adding subtle color and depth.
Photo-ready tips: lighting, touch-ups and longwear choices
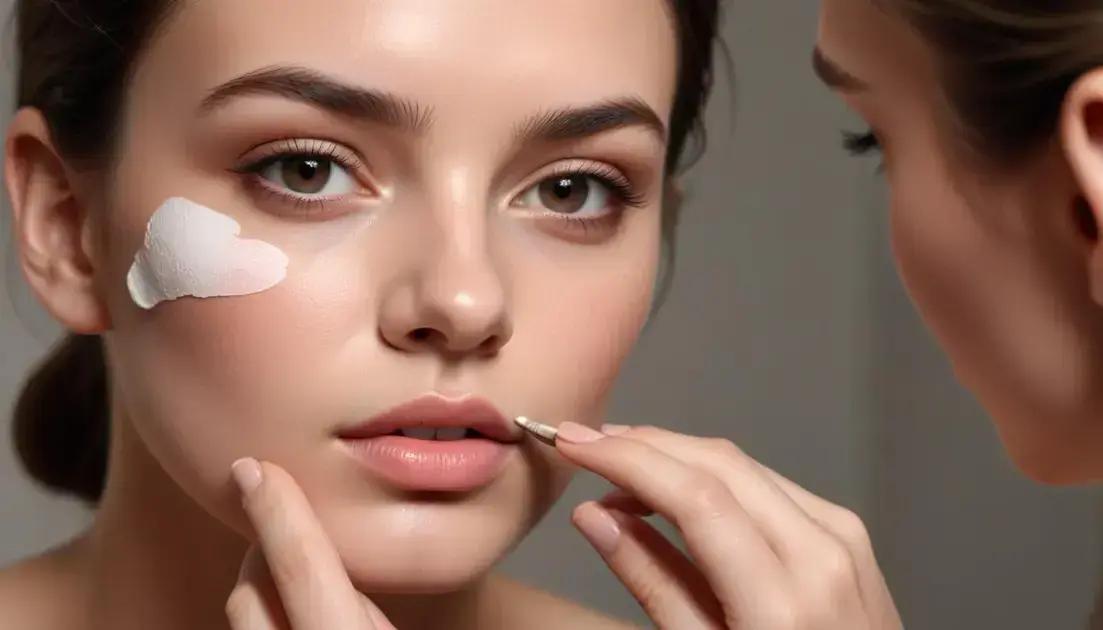
blurred skin makeup tutorial for soft-focus complexion relies on lighting and smart touch-ups to keep the blur natural on camera. Small moves make the look last through the day.
Use gentle fixes and longwear choices that protect texture rather than covering it up.
lighting for a soft-focus finish
Choose diffused, warm light to flatten harsh shadows and soften pores. Avoid direct overhead sun that creates strong contrast. Aim for light slightly above eye level and at a slight angle to the face.
quick touch-ups that preserve the blur
Blot excess oil, press product in with a damp sponge, and mist lightly to revive the melded finish. Skip heavy powder that can mattify and reveal texture.
- Blot, don’t powder: use blotting paper to remove shine without adding texture.
- Press with a damp sponge: reapply thin layers by pressing, never rubbing, to keep the soft-focus effect.
- Mini setting spray: a few light mists revive the finish and reduce patchy powder buildup.
- Targeted concealing: dot concealer on specific spots and tap gently to blend.
For longwear, choose flexible formulas that move with the skin. Look for foundations labeled longwear or transfer-resistant but with a natural finish, not a heavy matte. Pair them with a light, compatible primer.
Layer strategically: a thin primer, a sheer base applied with a damp sponge, micro-setting only where needed, then a light spritz of setting spray. Test the full routine in daylight and on camera to confirm the blur holds up.
camera and flash tips
Use soft fill or bounce flash to avoid harsh highlights. If you must use phone flash, diffuse it with a soft material or angle the camera to reduce direct reflection. Take quick test shots and adjust small areas rather than redoing the whole face.
These small lighting choices, smart touch-up habits, and longwear product picks keep your blurred skin makeup tutorial for soft-focus complexion looking soft and photo-ready. Keep actions light and targeted to preserve the natural, blurred finish.
blurred skin makeup tutorial for soft-focus complexion shows that small choices—right primer, gentle tools, soft color, and light finishing—create a lasting, natural blur. Try light layers, patting motions, and a quick mist to keep skin camera-ready without looking heavy.
FAQ – blurred skin makeup tutorial for soft-focus complexion
What is a blurred skin makeup look?
A blurred skin makeup look softens pores and texture for a smooth, camera-ready finish using lightweight products and gentle application.
Which primer and foundation should I choose?
Pick a primer that targets your skin concern (silicone for pores, hydrating for dry skin) and a buildable, soft-focus foundation or tinted serum.
What tools and motions give the best result?
Use a damp sponge to press foundation in and gentle patting motions rather than rubbing; buff only where needed with a dense brush.
How do I keep the soft-focus effect all day and on camera?
Blot oil instead of heavy powdering, use a light setting spray to meld layers, test in daylight and take a quick photo to adjust lighting or touch-ups.